- How To Install FileRun on Synology DSM NAS using Docker
- Introduction
- 1. Installing Docker
- 2. Download the MySQL/MariaDB Image
- 3. Launching MySQL/MariaDB
- 4. Downloading the FileRun Docker image
- 5. Create the FileRun Docker container
- 6. Downloading the FileRun application files
- 5. Launching FileRun
- Manage Access Permissions
- Port Settings
- Troubleshooting
- Conclusion
How To Install FileRun on Synology DSM NAS using Docker
Introduction
In this guide we will install FileRun on Synology DiskStation Manager (DSM), a Linux based software package that is the operating system for the DiskStation and RackStation products.
1. Installing Docker
This step is straightforward:
- Open up the Synology DSM in your browser.
- Open the Package Center app.
- Search for
Dockerand install the found package.
2. Download the MySQL/MariaDB Image
Open up the Docker app, browse to Registry, search for MySQL
or MariaDB, select the first result and click Download. When
presented with the choice for the Tag, select latest (or at least
8.4):
The image will start downloading.
3. Launching MySQL/MariaDB
Once the MySQL/MariaDB image downloaded, you can select it under the Image section and press the Launch button.
Make sure the container's name is db:
Create MySQL/MariaDB Container
Click the Advanced Settings button and configure the container like this:
Advanced Settings
Click Add Folder and select an empty folder, which will have the
mount path set to /var/lib/mysql. This is where the MySQL/MariaDB data
will reside.
Volume
On the Environment tab add the following variables:
MYSQL_ROOT_PASSWORD:filerunMYSQL_USER:filerunMYSQL_PASSWORD:filerunMYSQL_DATABASE:filerun
Environment Variables
On the newer MySQL versions (8+), you might need to change the Execution Command from
mysqldtomysqld "--default-authentication-plugin=mysql_native_password(Don't do it preemptively, only if you encounter any startup errors related to authentication.)
Click Ok to close the advanced settings panel and click Next to launch the container:
Launch MySQL/MariaDB Container
You should now see the container running:
Running MySQL/MariaDB container
4. Downloading the FileRun Docker image
Just like we did for the MySQL/MariaDB image, search the Registry
for filerun and download the image filerun/filerun.
If you cannot find it via the registry, add it from URL: https://hub.docker.com/r/filerun/filerun
The FileRun image will start downloading.
5. Create the FileRun Docker container
Click the Advanced Settings button and proceed with the configuration:
We want the container to auto-restart if problems are encountered. I am also creating a shortcut on the DSM desktop to easily open FileRun in the future.
Advanced settings
On the Volume tab, add two folders:
- For the FileRun application files. It can be located in any empty
folder and must have the mount path set to
/var/www/html - And for the FileRun user files, with the mount path set to
/user-files. If you want to have access to existing files on your NAS, you are not limited to a new and empty folder, you can select any folder you want:
Volume
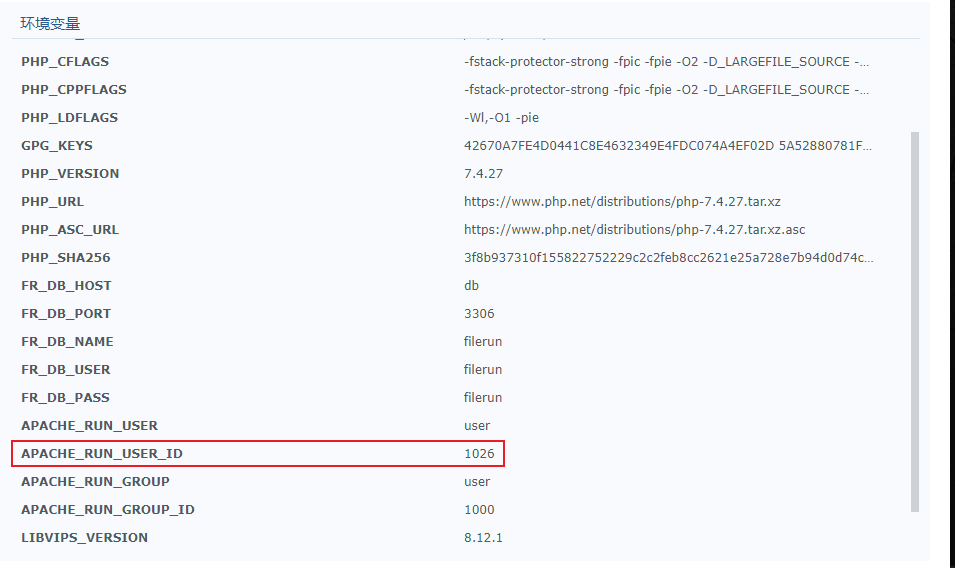
You might want to add also the following environment variables, to configure the Apache permissions, to mach the Synology user/group and ID, otherwise you might not be able to manage existing folder:
APACHE_RUN_USER:userAPACHE_RUN_USER_ID:1026APACHE_RUN_GROUP:userAPACHE_RUN_GROUP_ID:1000
6. Downloading the FileRun application files
Login to your FileRun client account by using this link: https://my.filerun.com/client-area-orders
It will take you to "Your Licenses". That is where you will be able to download the FileRun application files in a zip archive.
Upload the zip archive to your Synology device, inside where you mounted
/var/www/html.
Extract the zip in the same folder.
5. Launching FileRun
Once the image downloaded, you can select it under the Image section and press the Launch button.
Launch
Manage Access Permissions
In order to make other Synology folders manageable with FileRun, you need to follow these steps:
1. Create a Docker user and group
From the Synology Control panel, under Group create a new group,
called docker. After you are done, under User create a new user,
called the same docker and make sure you select the group docker for
this user to be part of.
2. Find out the IDs of user and group docker
For this step we will be using SSH.
See: How to login to DSM with root permission via SSH/Telnet
You might need to follow this guide to enable SSH access.
Once connected:
Get the user information like this:
1id docker
From the output, you will see uid=1034, so your docker user ID is
1934. You will also see 65537 (docker), so your docker group ID
is 65537
3. Adjust Docker container permissions
Now you want to have the Docker container perform file access and operations using the newly creates user account and group. On the Environment tab, when editing the Docker container, set the following variables:
APACHE_RUN_USER:dockerAPACHE_RUN_USER_ID: 1034APACHE_RUN_GROUP:dockerAPACHE_RUN_GROUP_ID: 65537
Do not copy the above numbers, use your own, the ones you got at the step above!
4. Give FileRun access to other folders
Via the Docker container's Volume tab again, for each folder that is set here, open its Permissions panel via Synology File Station, and add the group docker with read+write permissions.
Port Settings
On the Port Settings tab I am setting the local port 888 as perhaps
later on I might want to host a website on the NAS. This means that I
will be accessing FileRun in my browser using the URL: http://nas:888
Custom HTTP port
Finally, on the Links tab, add the MySQL created container db with
the alias db:
Linking the MySQL container
Click Ok to close the advanced settings panel and click Next to launch the FileRun container:
Launch FileRun Container
You should now see both the FileRun and the MySQL containers running:
Containers Running
And you're done! You can now start using FileRun.
Open a browser and point it to your NAS address, using the configured
custom port number: http://nas:888
You should see the FileRun login prompt:
FileRun Login
The default FileRun credentials are as follows:
Username:superuserPassword:superuser
It's important that you change these as soon as you sign in for the first time.
Troubleshooting
Having problems browsing your files, you might need to change the Apache user to use Synology user ID:
Conclusion
You have now successfully deployed FileRun on your own private and secure Synology NAS server. It's time to upload your files, photos, music, or work documents and start sharing.